Handmade custom leather gifts offer a unique blend of luxury, personalization, and durability, making them a memorable and valuable choice. Here’s a breakdown of the benefits:
Personalization & Uniqueness:
- Reflects Thoughtfulness: A custom gift shows you put extra effort into choosing something special and tailored to the recipient’s individual taste and needs.
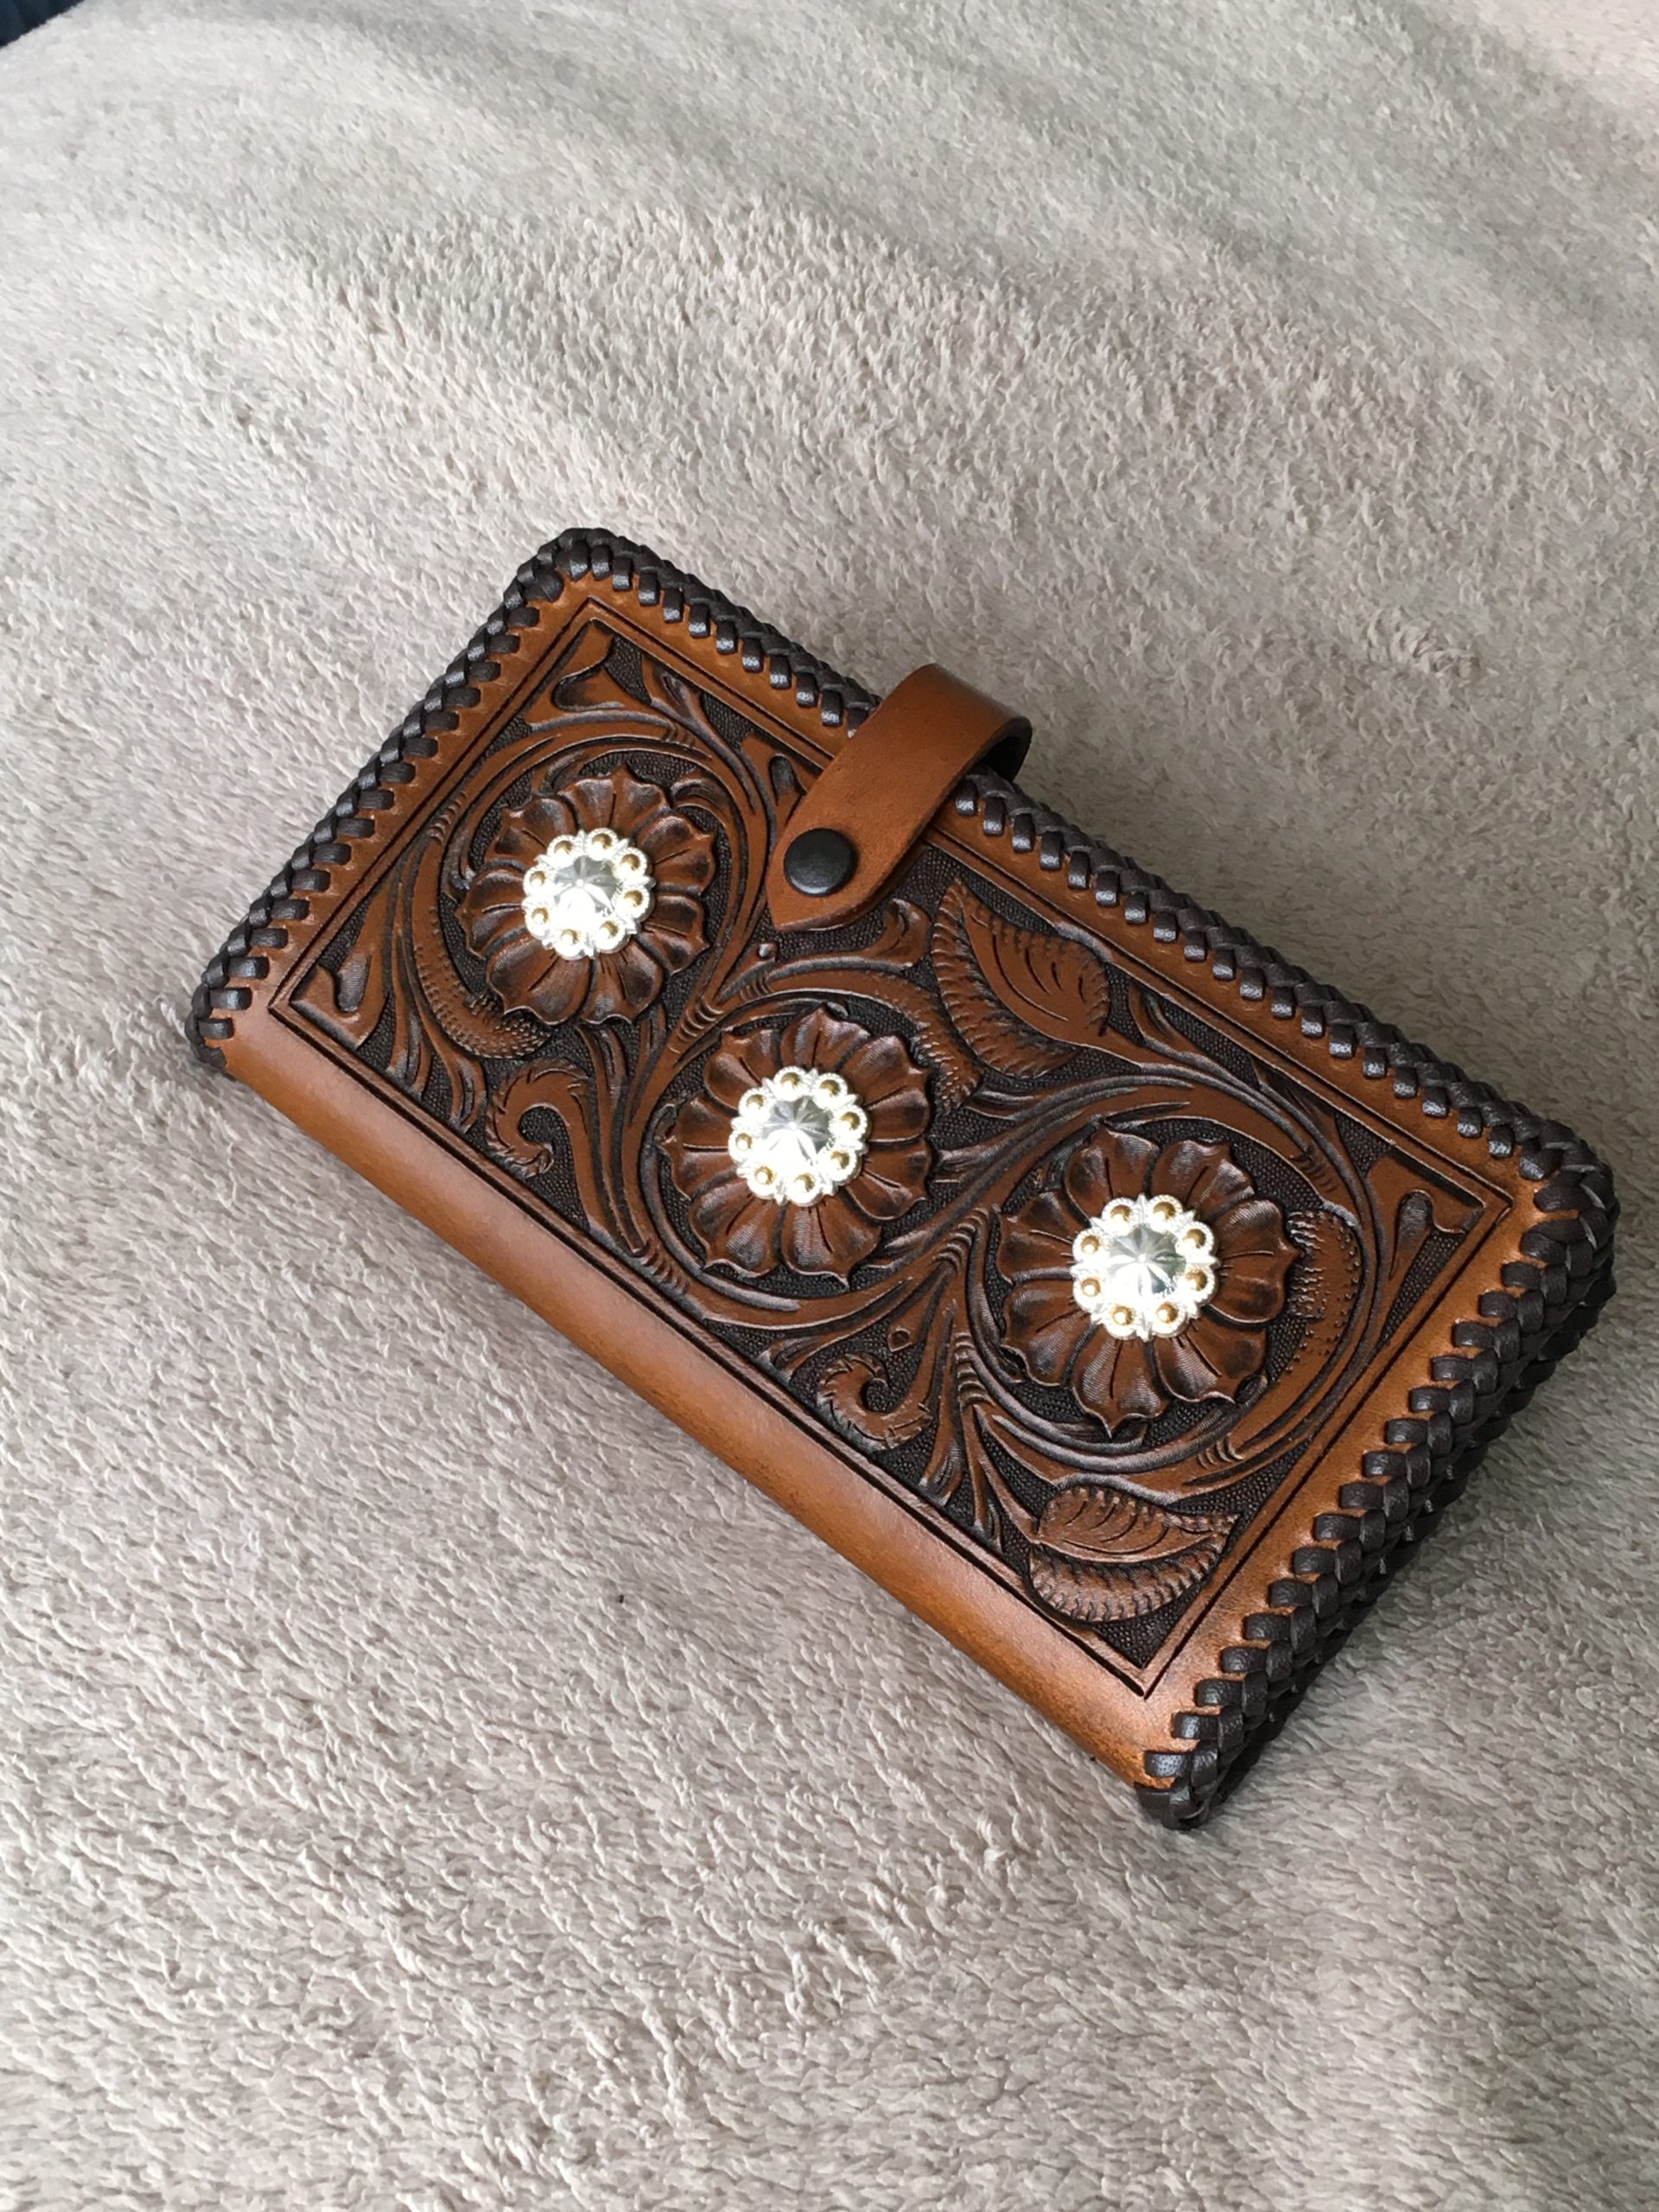
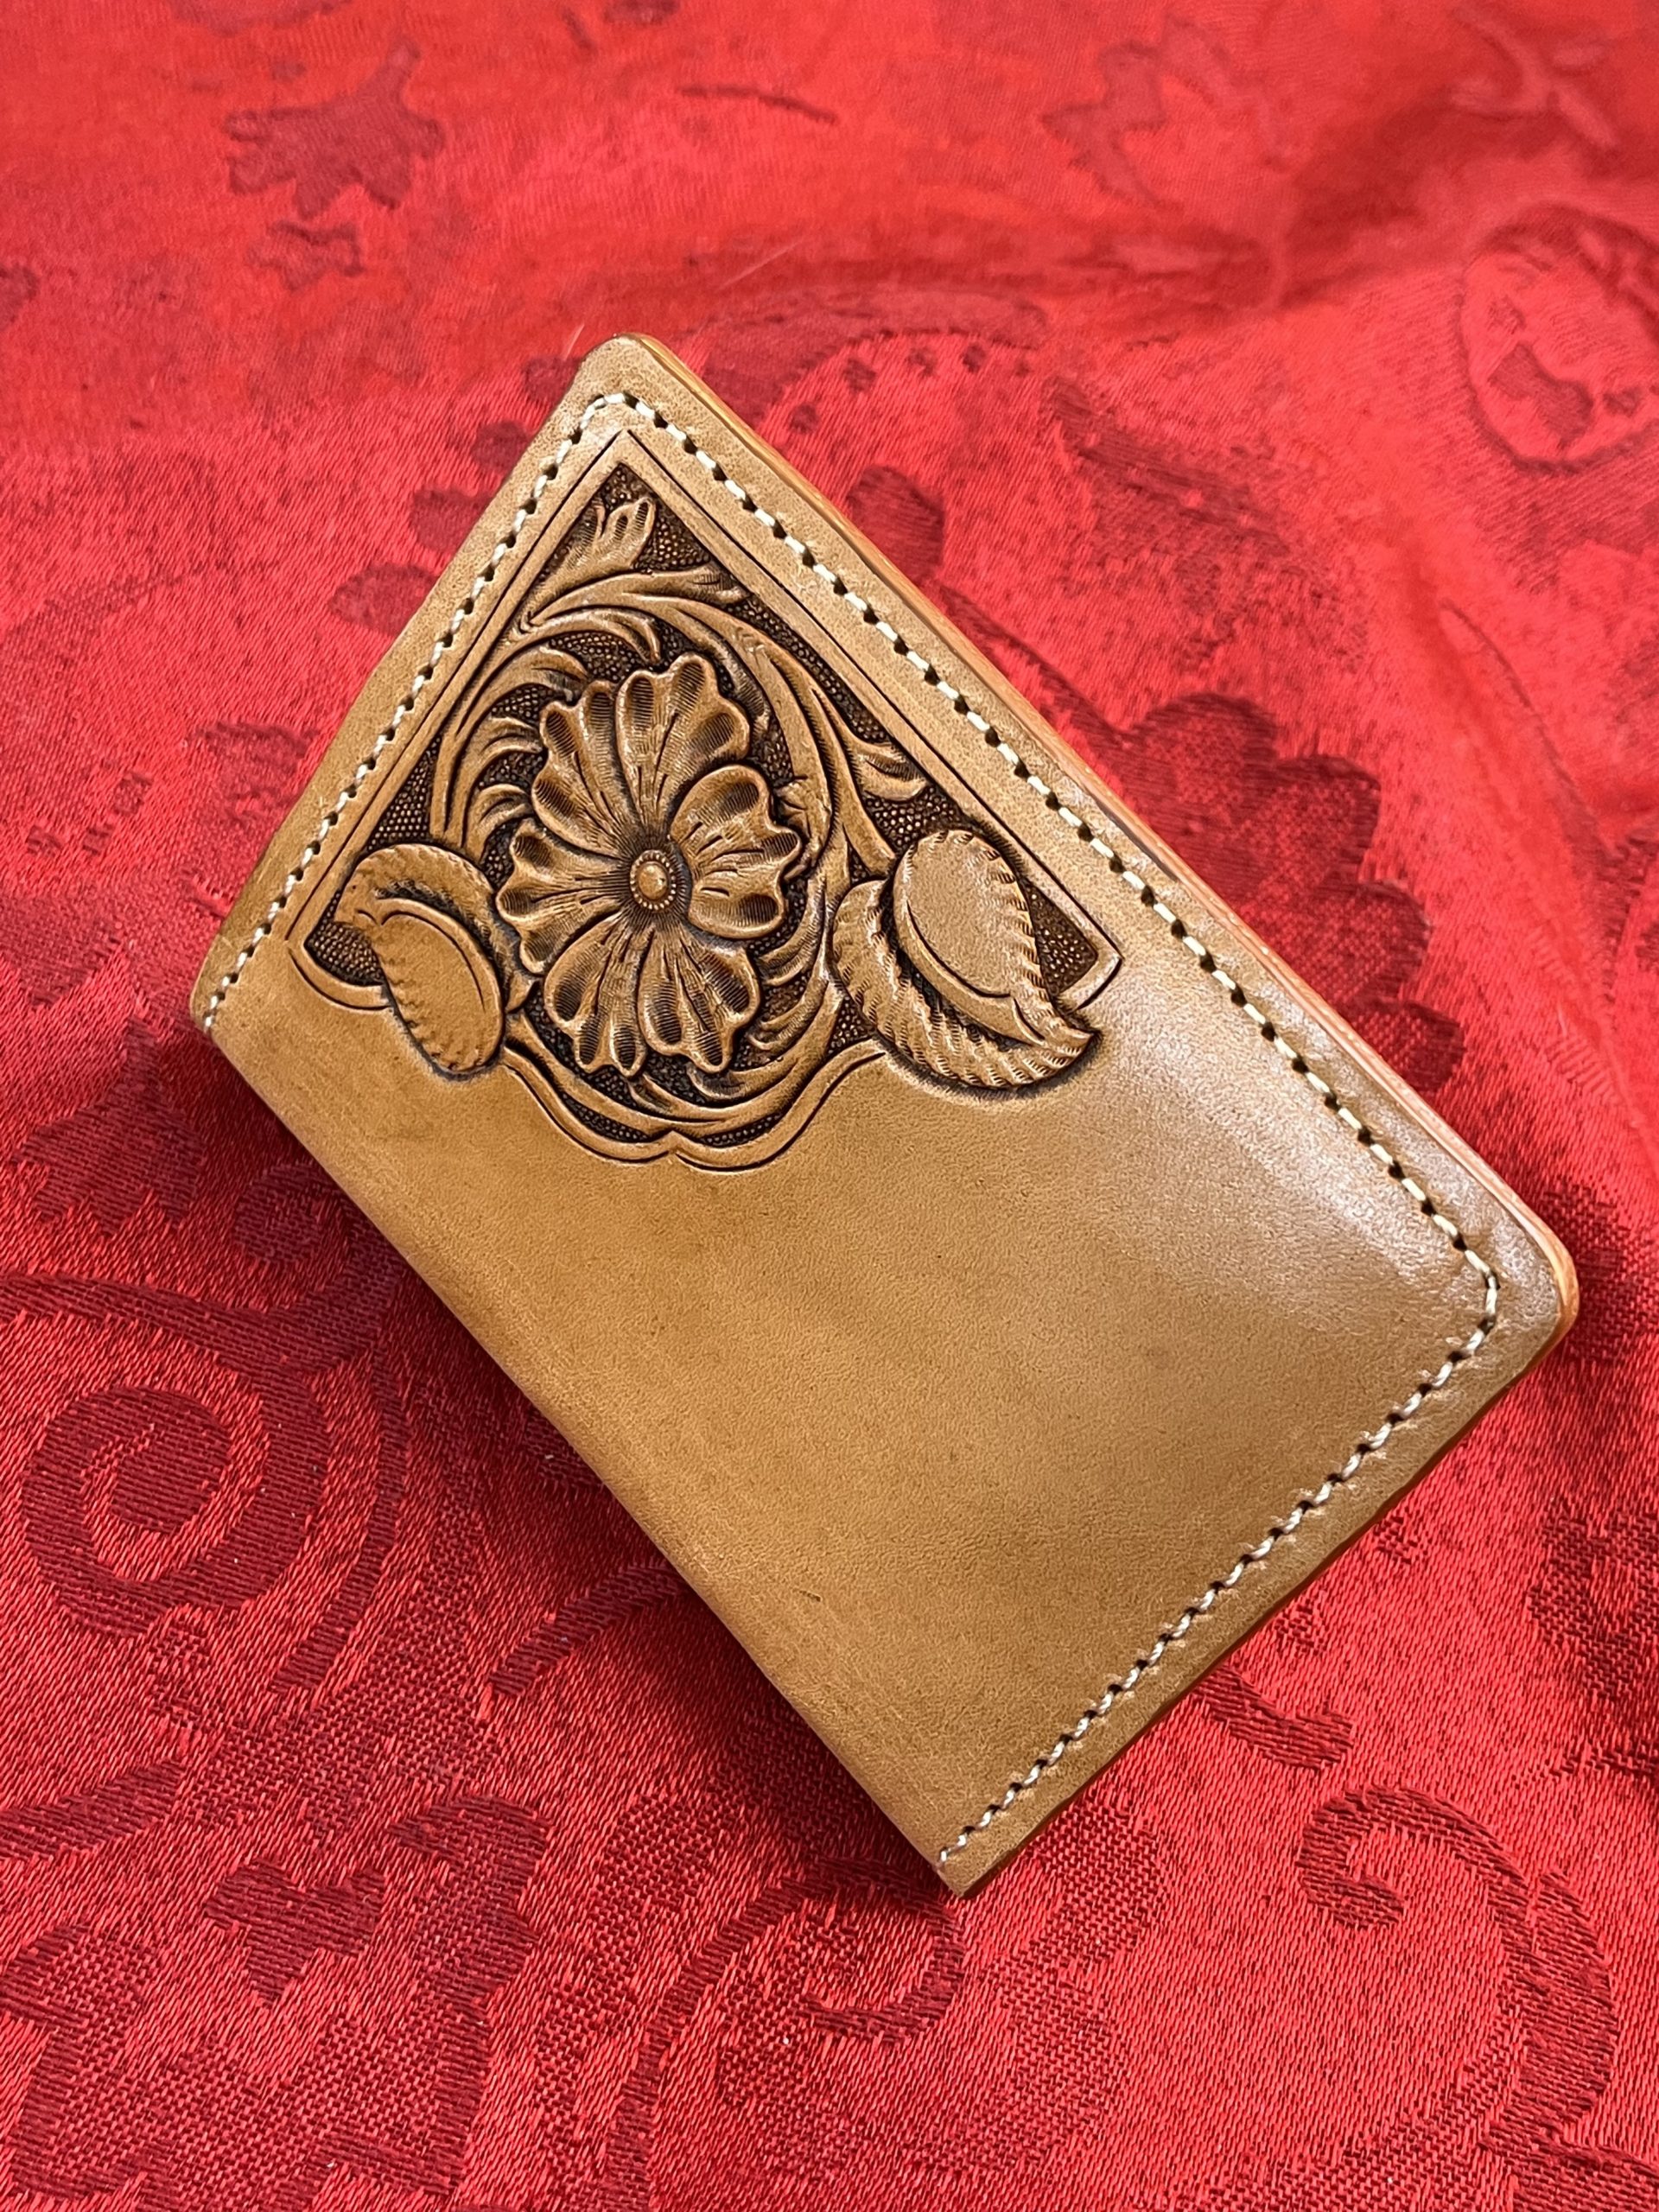
- Uniquely Theirs: Customization options like initials, monograms, names, dates, logos, quotes, or even custom designs make the gift one-of-a-kind.
- Expresses Relationship: You can personalize the gift to reflect your specific relationship with the recipient (e.g., inside jokes, shared memories).
- Stand Out: In a world of mass-produced items, a custom leather gift stands out as a thoughtful and distinctive present.
Quality & Durability:
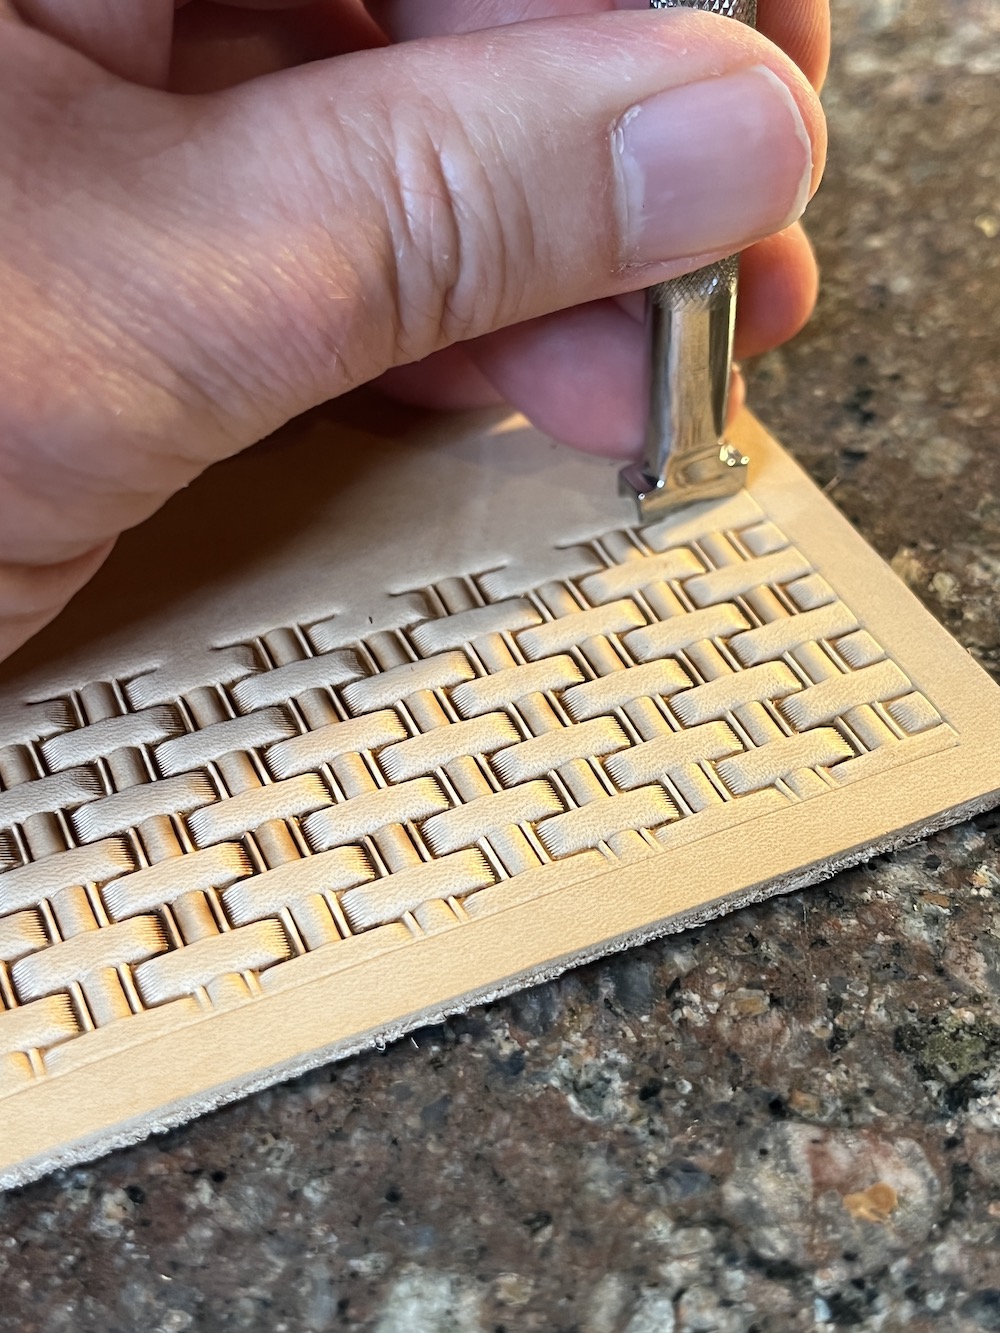
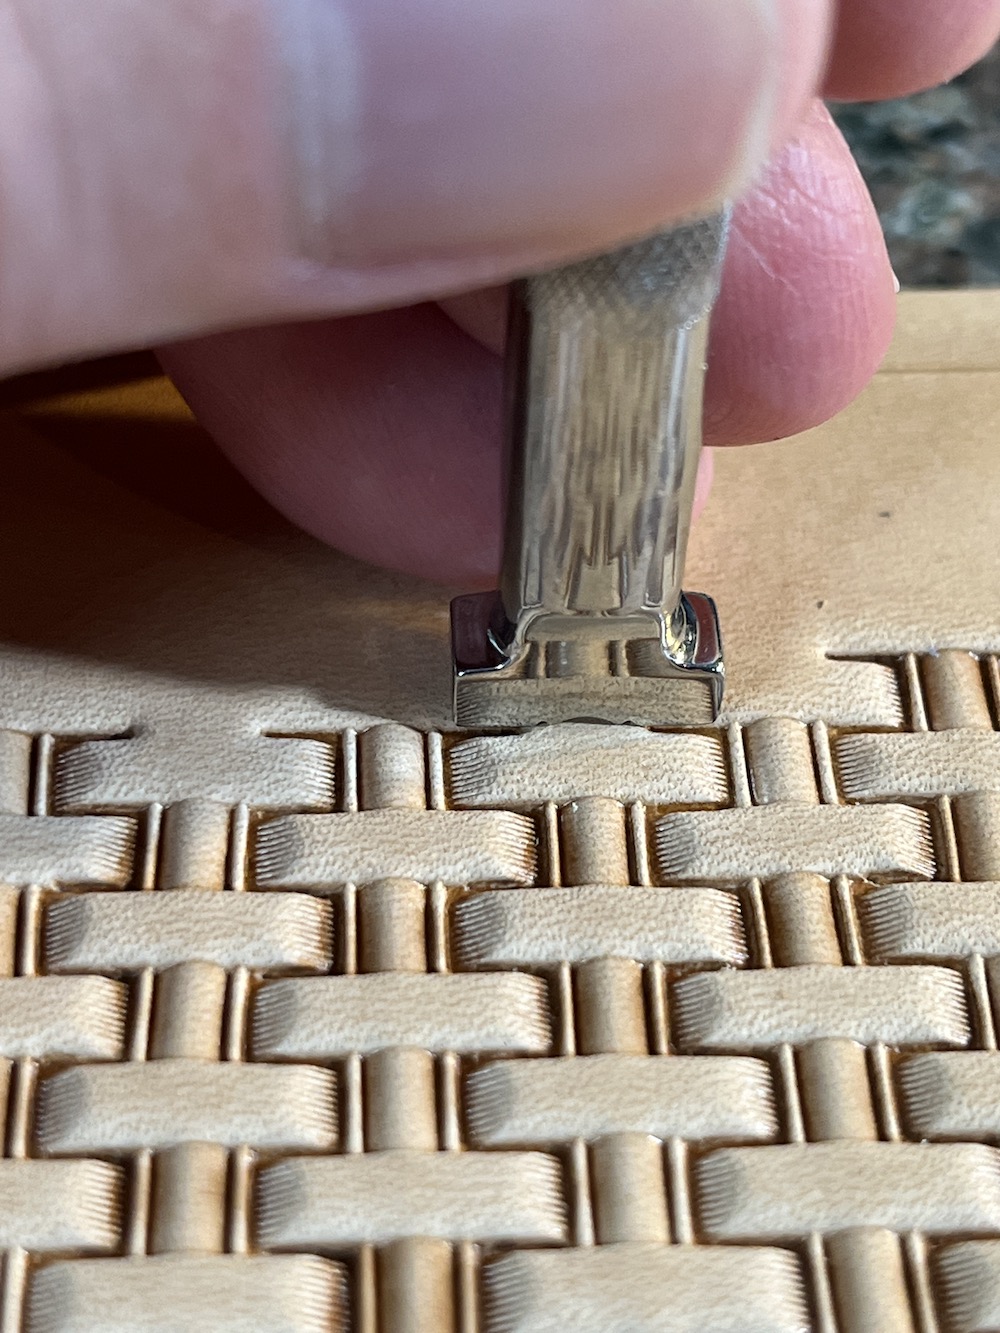
- Longevity: Leather, especially full-grain leather, is incredibly durable and can last for decades with proper care. This ensures your gift will be a lasting reminder of your gesture.
- Gets Better with Age: Leather develops a beautiful patina over time, adding character and making it even more special as it ages.
- High Perceived Value: Leather is associated with luxury and quality. A leather gift is perceived as more valuable than many other materials.
- Resistant to Wear & Tear: Leather can withstand everyday use and is resistant to scratches, tears, and other forms of damage.
Style & Sophistication:
- Timeless Appeal: Leather has a classic and timeless appeal that transcends trends.
- Versatile: Leather gifts suit a wide range of styles, from classic and sophisticated to rugged and outdoorsy.
- Professional Look: Leather accessories, like wallets, briefcases, and portfolios, add a touch of professionalism to any look.
- Adds Character: Leather items can enhance the recipient’s personal style and add a touch of elegance to their everyday life.
Practicality & Functionality:
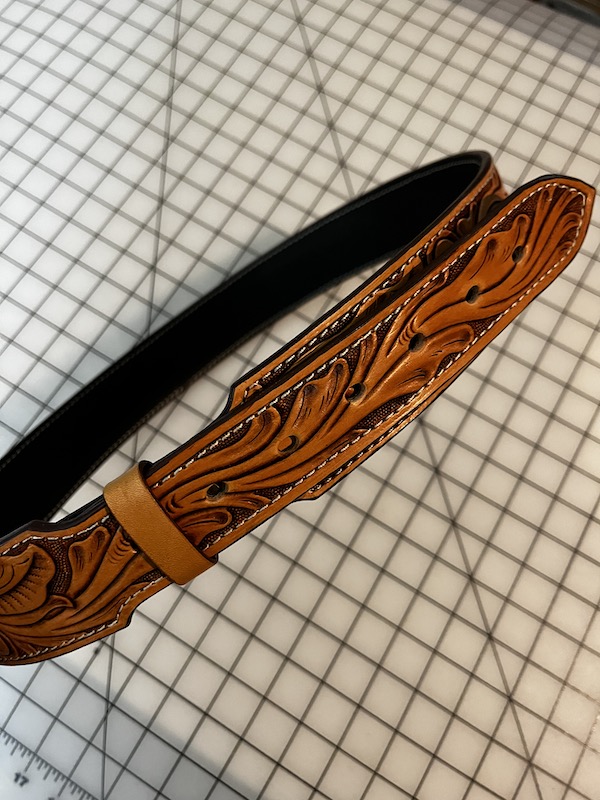
- Everyday Use: Many leather gifts are practical items that can be used daily, providing constant reminders of the giver. (e.g. wallets, keychains, belts, journals)
- Protection: Leather provides excellent protection for valuable items, such as laptops, tablets, and documents.
- Organization: Leather organizers and accessories can help keep the recipient’s belongings tidy and accessible.
- Comfort: Some leather items, such as gloves or bags with leather straps, can provide added comfort and functionality.
Meaning & Sentimentality:
- Emotional Connection: A custom leather gift with a personalized touch can create a strong emotional connection with the recipient.
- Heirloom Potential: Due to their durability, custom leather items can become cherished heirlooms passed down through generations.
- Commemorative: Leather gifts can be used to commemorate special occasions like graduations, weddings, anniversaries, or promotions.
- Symbolic: Leather can symbolize strength, resilience, and longevity, making it a meaningful gift for someone you admire.